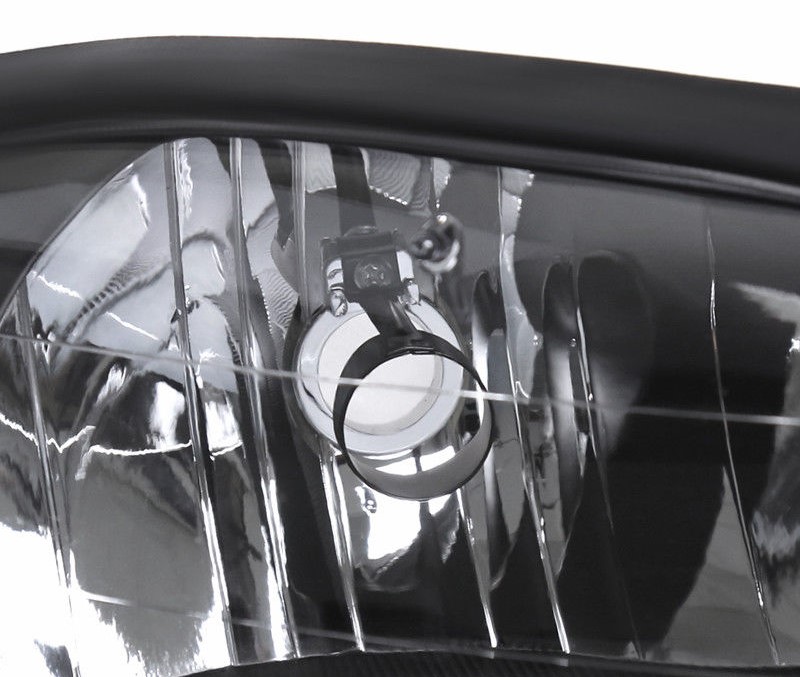
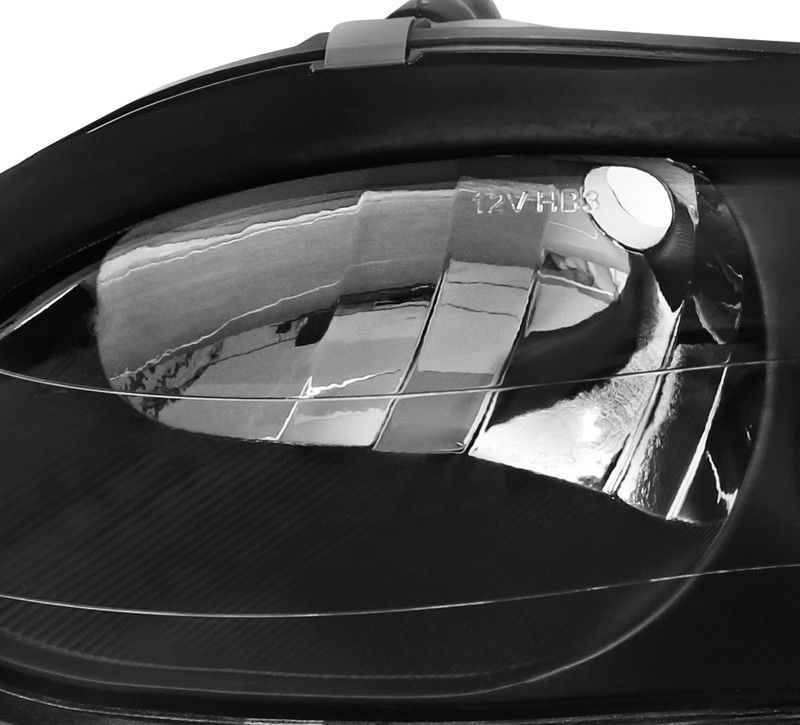
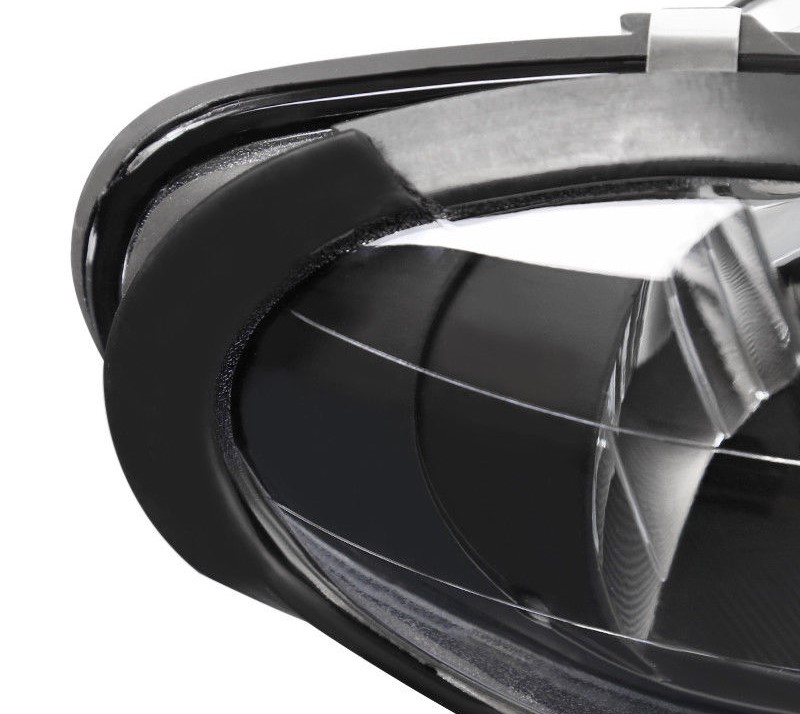
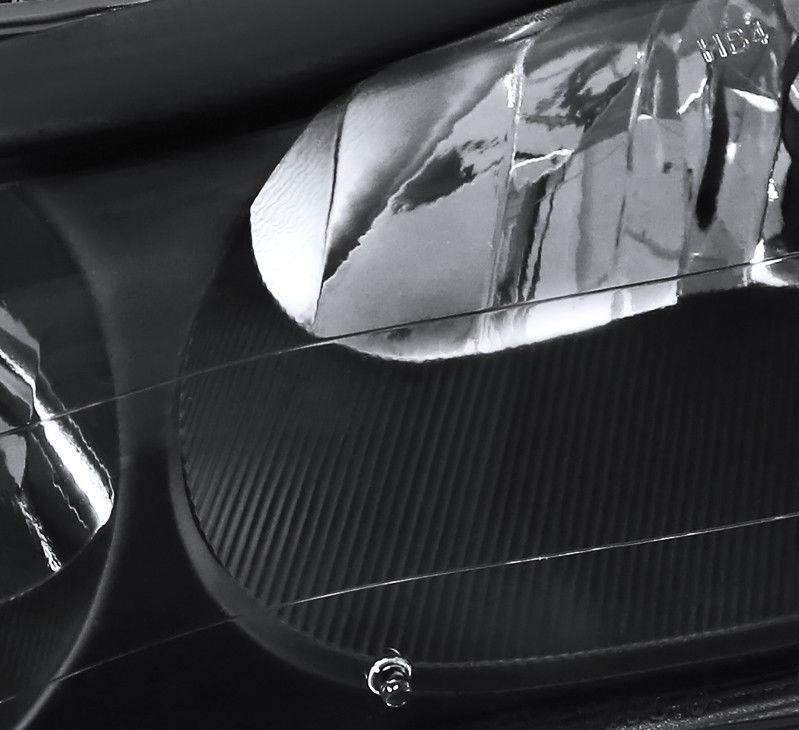
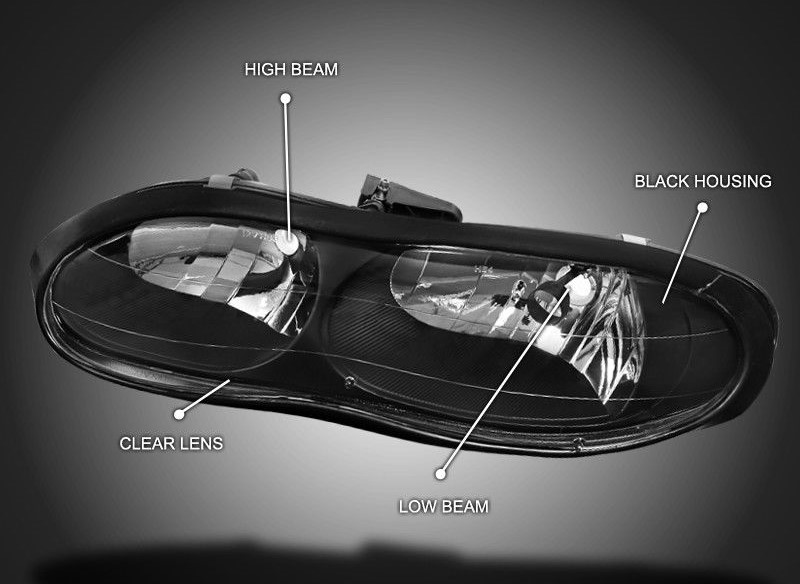
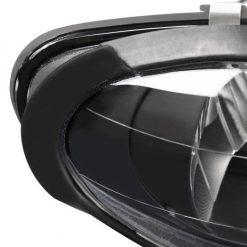
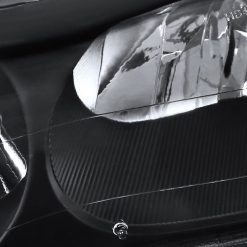
When the Gen 4 Camaro got it’s refreshed front end in 1998, a lot of owners complained it had a “Sebring Chrysler” look to it, part of the reason being it’s all chrome headlights. While there are other headlight options on the market, projector/halo/led/etc., these are the only headlights we personally feel improve the look of the Camaro as opposed to detracting from it.
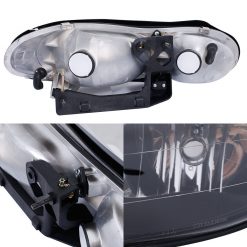
An added bonus, being that OEM headlights are prone to “hazing” after time, this full replacement set of headlights have a crystal clear lens to make your vehicle and it’s light output look brand new again. Installation is easy, remove a few bolts and, insider tip, remove the three plastic clips at the top front of your bumper (a fork works if you do not have an interior trim tool) and simply pull your front cover UP and OVER (not off) the styrofoam support. That’s it, this small detail will save you hours of trying to force the headlights out of the stock opening.
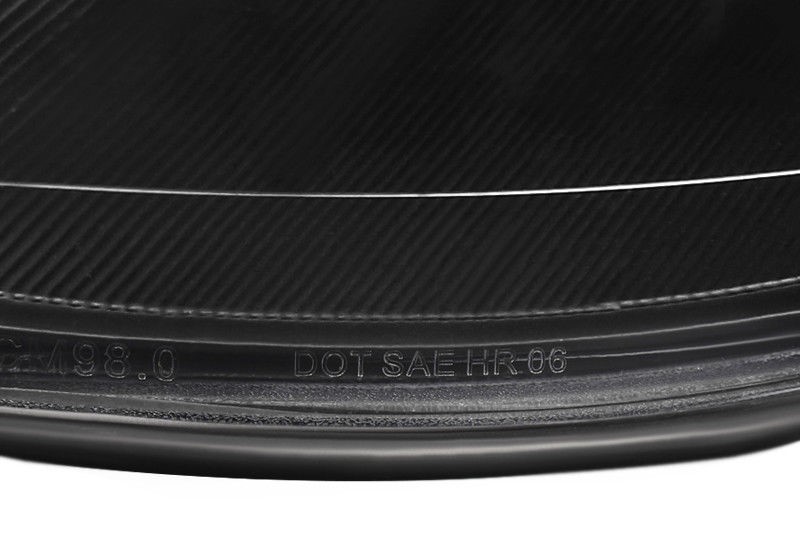
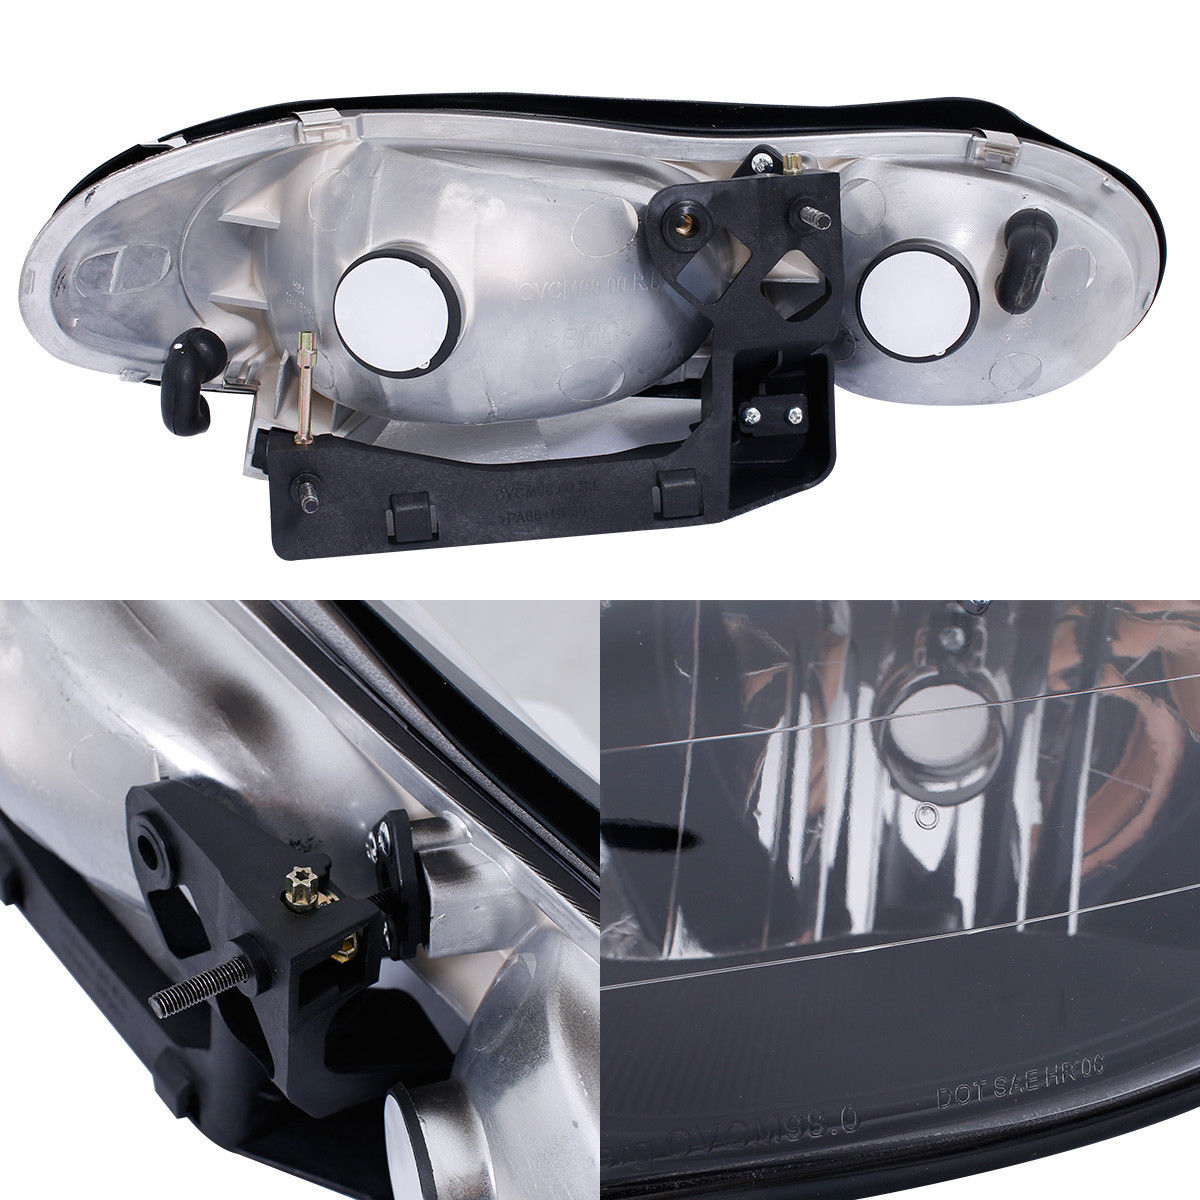
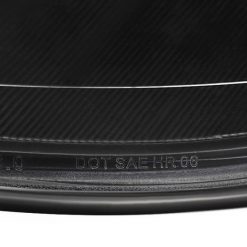
We try to keep these in stock therefore wait times are only 5 to 7 business days, worst case, before shipping. DOT approved they come with the backing brackets, everything you need to modernize the front of your beloved Camaro in just an afternoon.
Please Note:
Before you begin to adjust the light, make sure check the alignment of your lights first. Park the vehicle about 10 to 25 feet from the wall with the lights aimed at the wall. The centerlines of the headlights should not be any higher than 3.5 feet above the ground.
1. Find the adjustment screws. Firstly, locate the adjustment screws on your vehicle.
2. Adjust the headlights individually. The headlights should be adjusted one at a time. Put a rag or towel over a chair in front of the light you want to block. Covering the light assembly directly can damage the plastic lens.
3. Adjust the vertical field. The screw on the top of the light housing should be turned clockwise to raise the lights and counterclockwise will lower the light. The headlight should be adjusted until the top of the most intense part of the light beam shines directly on or just below the center of the tape line on the wall.
4. Adjust the horizontal field. The screw on the side of the light housing should be turned to get the right/left adjustment correct. Adjust the lens so that the most intense part of the beam is to the right of the vertical line.
5. Test your results.


